COURSE #1 – CINEMATOGRAPHY – TAKING COMMAND OF THE CRAFT – FROM RECORDER TO CREATOR.


If you are a cinematographer on a plateau, an aspiring cinematographer or a student of cinematography you should take a look at my new online course.

Over a 40 year career I have seen and worked in film, video , HD and Digital. In many cases I helped in the development of the camera systems and filmstocks. All that gives me a pretty good insight into what you need as a Cinematographer to deliver innovative and creative work.

Setting up individual, great looking shots is easy but developing and maintaining lighting continuity and a strong visual style require a special understanding and set of skills.

This course teaches that. CLICK HERE to take a look at the course website.

I have been using the techniques for many years and have “taught” them, in workshops to more than 3000 DP’s worldwide.

If you are so excited you just want to purchase the course at the discounted price Click on this image.


New Demo Reel

LATEST NEWS.

2018 DEMO REEL


Irrefutable Proof – Grading the candle scene

5

I have had quite a few questions regarding the candle scene frame grab I posted some time back. To answer the questions I have included a series of still frames and a brief explanation of what I was doing to get the final look I wanted. It is important to realize the final was not an afterthought but was what I was after. I therefor needed to light for the elements that were going to be important in the final grade.

1. This first panel shows the original image as recorded in the camera. I recorded in  logC so the image has an enormous amount of detail but appears very “flat” and without contrast.
When I am lighting the shot on set I know exactly what the final image, after color grading, will be so I light the shot in a way that gives me all the elements I will need in the grade to make it work. Essentially what I record on set is my raw material as the final image is always made in the “printing” stage. That was true on film and is the same in digital. The trick is I have to “see” that final image before I start lighting the set so I am sure I have all the image detail I will need later on.
1


 2. Here I have started to grade the image. As this is a candlelight scene the light needs to be isolated so using a “power window” I invert it so rather than increase the light level of the candle I decrease the light level of the area outside the power window. I am doing this also because the Director specifically wanted the board dark so the writing was slowly revealed as the character walks along the board.
2


 3. Next I invert the widow again (in another node) so now I am working “inside” the selected area and I add warmth to the central part of the image to represent the warm glow of the candle. I do not add color to the outer area as I want the blacks to stay relatively neutral. If I warmed the entire image it would be way too red and would not look natural.
3


4. As I had darkened down the outer part of the selected area the actors (Jeanine) head basically
disappeared into black. I do not want that. I need a slight amount of separation from the background but I want it to look as if all the light on her and separating her from the background is from the candle. So I now create another power window behind her, adding a lot of edge softening so it is not obvious and raise the base black level of the image just enough to give separation of her hair from the background but not so much that it looks un-natural.


The image is starting to look close at this point BUT the area around the candle is not bright enough to look realistic. The area near the candle should be brighter than anywhere else so I need to add one more power window specifically for the candle.4


 5. This is the final shot with all the power windows and corrections added to make the shot work. The last thing I have to do is set up a tracking vector for all the power windows as this is a moving shot in the film so all those windows need to be moving with Jeanine, and they also have to move and look like they are realistically a result of the light coming from the candle. At the end of the shot Jeanine moves from the board turning to Rinaldo so I also have to remove some of the windows (without that being noticeable) so when she turns those windows do not turn with her as that would look ridiculous.5
This is the most important shot in this scene so once this is graded I then go through all the shots in the scene and balance them in mood, color, contrast and brightness to give the entire scene a coherent feel and look totally believable

“Irrefutable Proof” Teaser-trailer

Directed by Ziad Hamzeh, we shot Irrefutable Proof in Syracuse, NY December/January. The film is due to be released in the Fall this year. Stay tuned.

THE CRATER – Lighting the Vietnam War on a Budget

I have had many questions regarding lighting for some of the dramatized battle re-enactment scenes in “The Crater”.

The lighting plan was simple, there were essentially no lights.
balmoral_attack


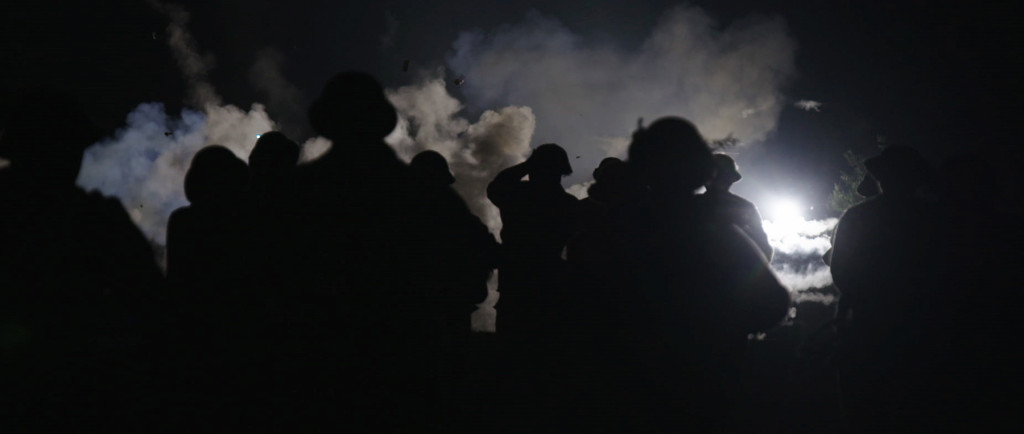
The concept called for very minimal lighting as Director, David Bradbury, wanted absolute realism and the nights of the battle, as described by the Vets who were there, “were pitch black, no moon, nothing, just black”. Helping keep to this plan was the fact this was being done on a vey tight budget so there was no financial room for condors with 12K’s, balloons, Musco, generators, etc. to light the huge battle field for the all night time battle scenes.
 

Screen shot 2014-06-13 at 3.02.13 AM


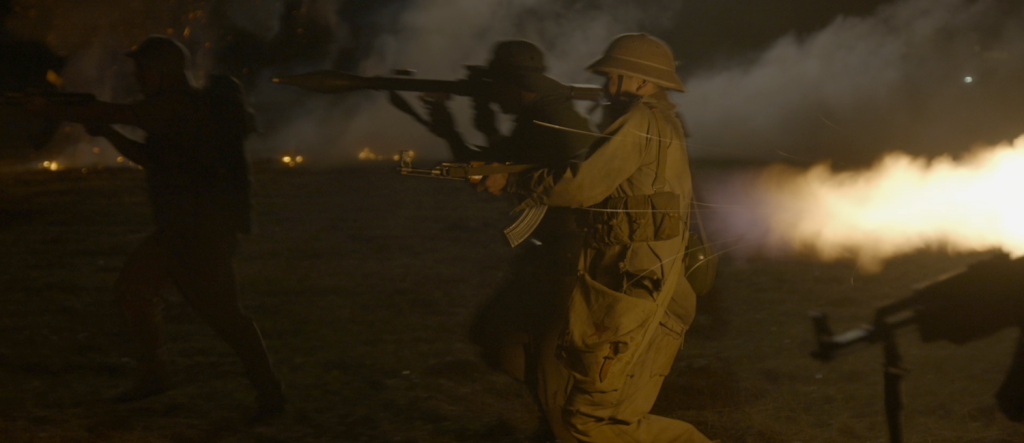
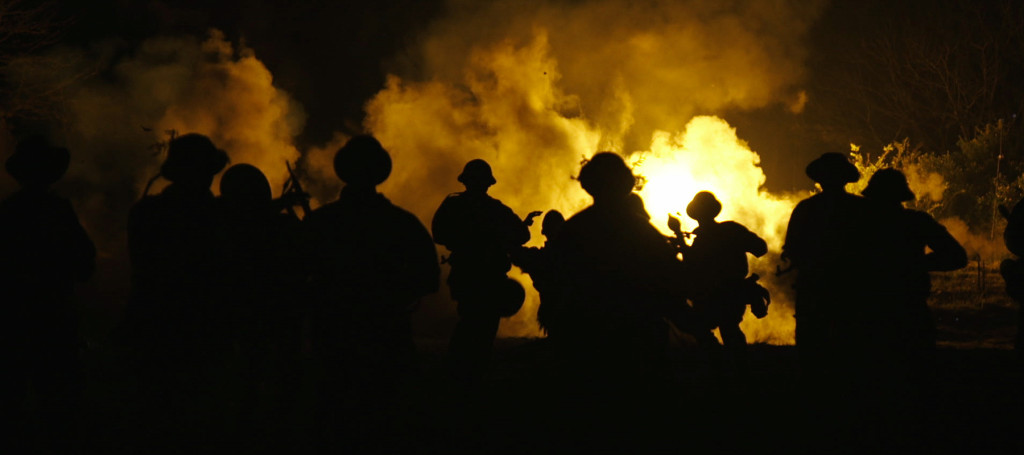
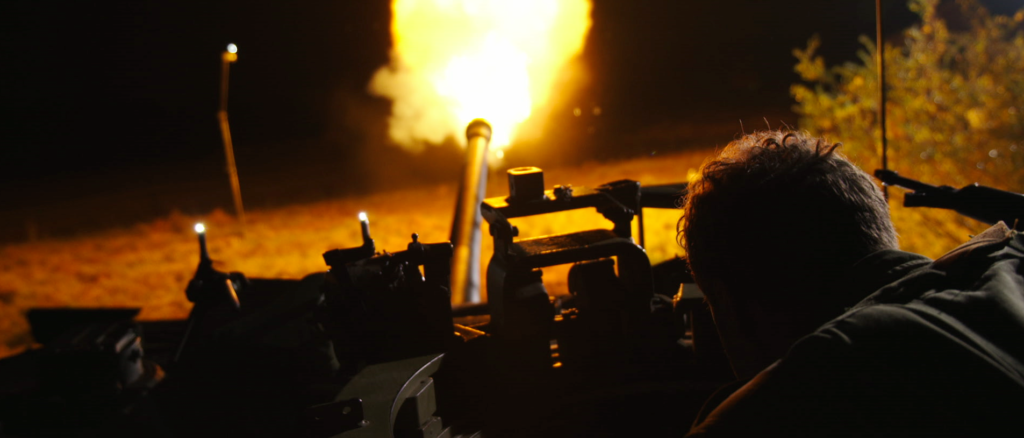
The lighting plan involved playing the battle in “layers”, lighting, at very low intensity, the background and then allowing flares, explosions and muzzle flash to light the middle ground and foreground with no additional supplemental foreground lighting.


Essentially everything played in silhouette unless “soldiers” were captured on camera during an explosion or muzzle flash.


Each sequence was staged by laying down smoke from explosive pots in the deep background. This was lit by the explosions themselves and by a single 5K backlighting the smoke at extremely low level. Next the explosions moved progressively towards camera laying more smoke and the middle ground and foreground was the charging troops and lots of muzzle flash. Essentially everything played in silhouette unless “soldiers” were captured on camera during an explosion or muzzle flash. The added benefit of this was no-one (particularly the camera operators) had any idea where anyone was except when there was light…..again, exactly as experienced by those who were there, and this, adding to the realism.
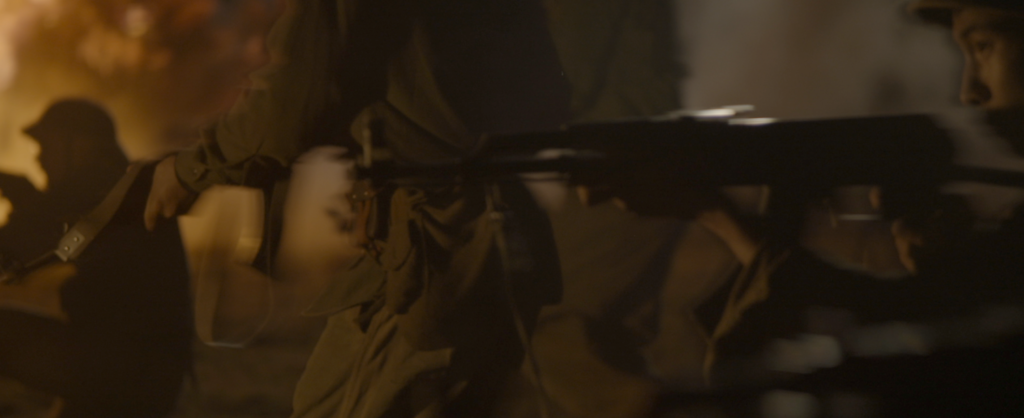
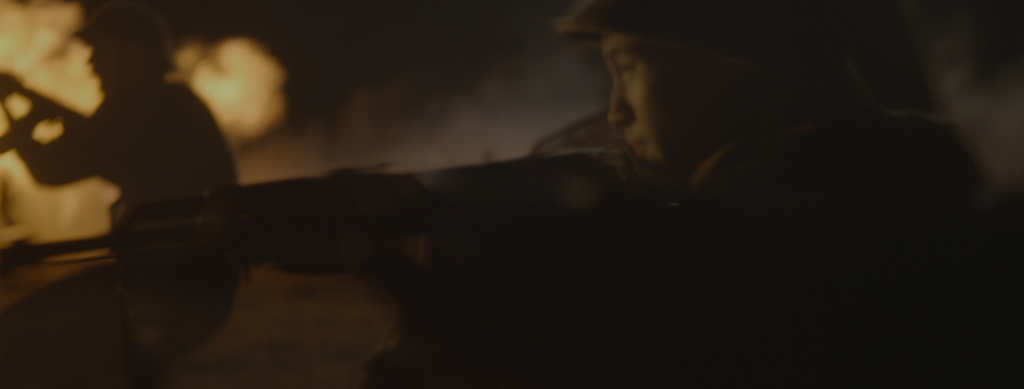
Screen Shot 2014-06-15 at 3.43.02 PM Screen Shot 2014-06-15 at 3.42.47 PM


Ultimately the effect was to create as much disorientation and chaos as possible so nothing was evenly lit and only fleeting glimpses of the action were visible. Exactly as it was described by the Vets.
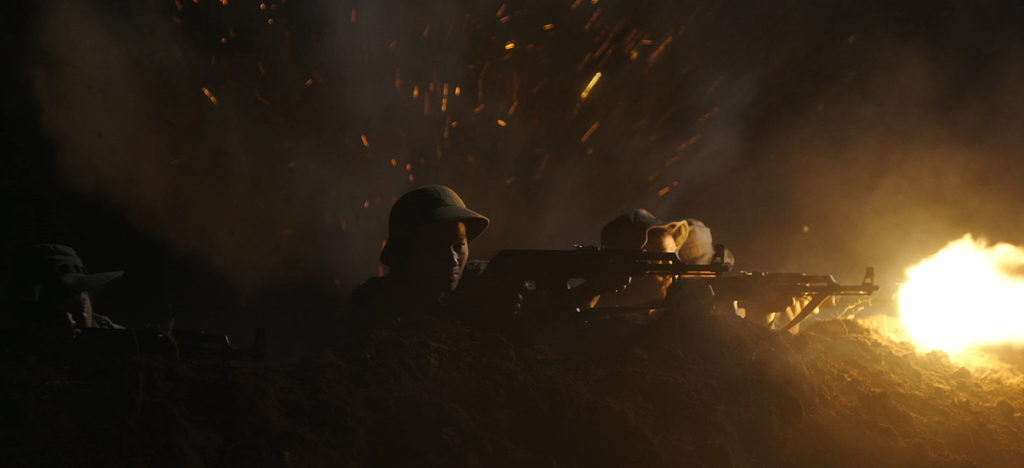
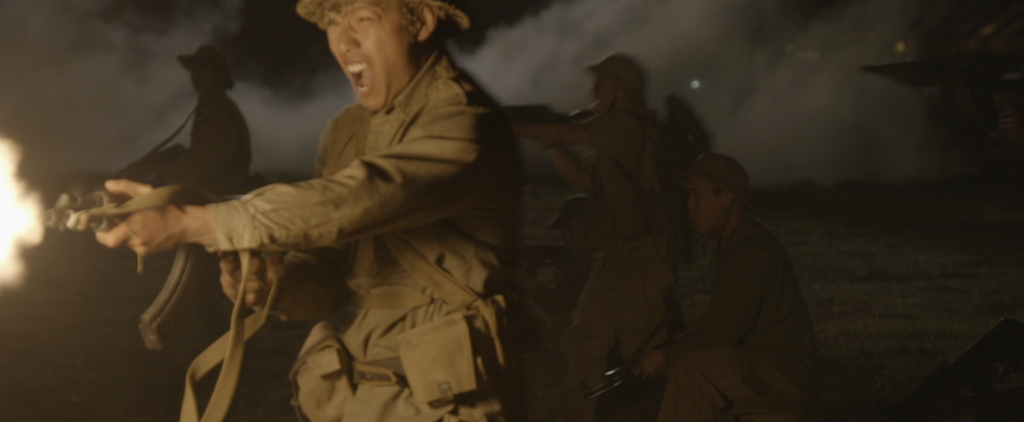
balmoral_attack3Screen Shot 2014-06-15 at 3.55.43 PMScreen Shot 2014-06-15 at 3.53.50 PM


The day ext of the Aussie soldiers after the bombing was shot about 30 minutes after sunset with only ambient light. The scene in the command center using only 100W Tungsten bulbs dimmed to about 50% to get the warmth.
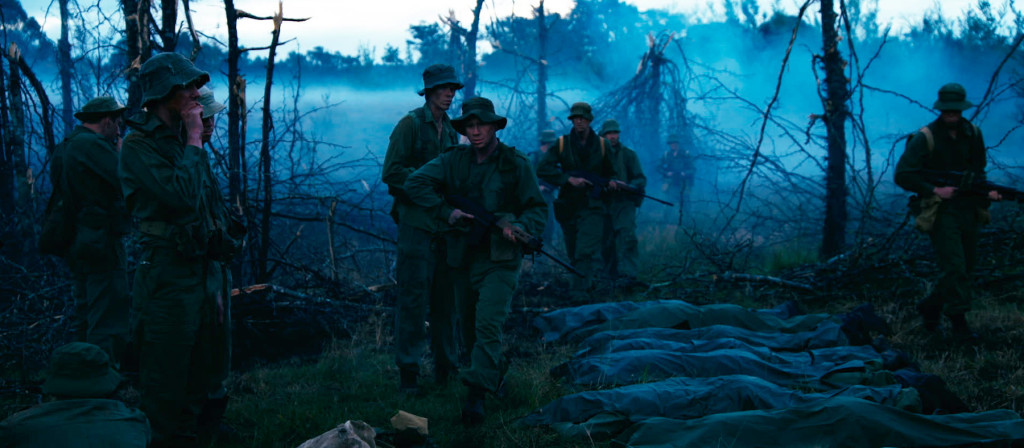
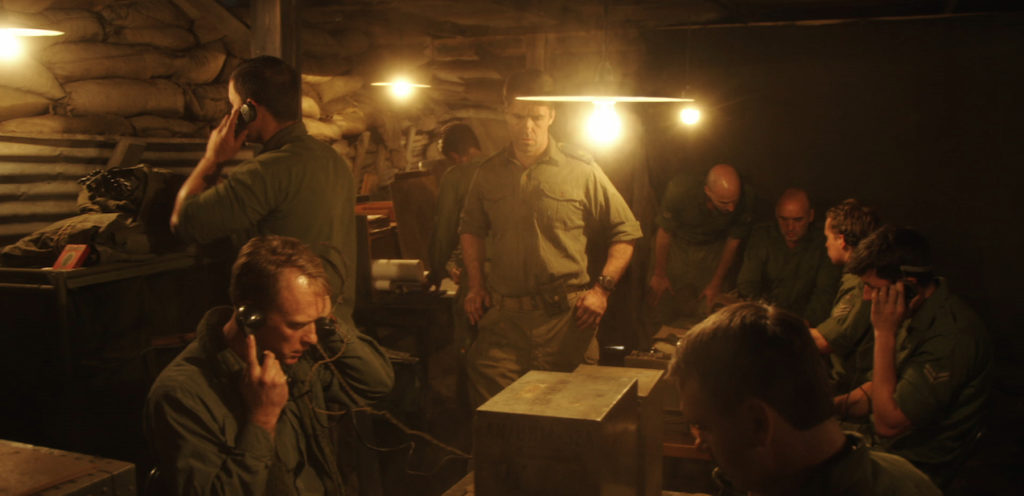
anzacshq_after


One lighting unit I was able to use was the searchlight mounted on the Centurion tank. These were used in an on/off fashion during the battle when the North Vietnamese soldiers were attacking. The actual light (part of the Centurion Tank) was a 1 million candlepower Xenon that was mounted just above the gun and provided some serious illumination on the battlefield. Of course during battle this light never remained on and was only used in occasional very brief bursts to locate the attacking soldiers causing momentary blindness and making them easy targets for the 50 caliber machine guns.
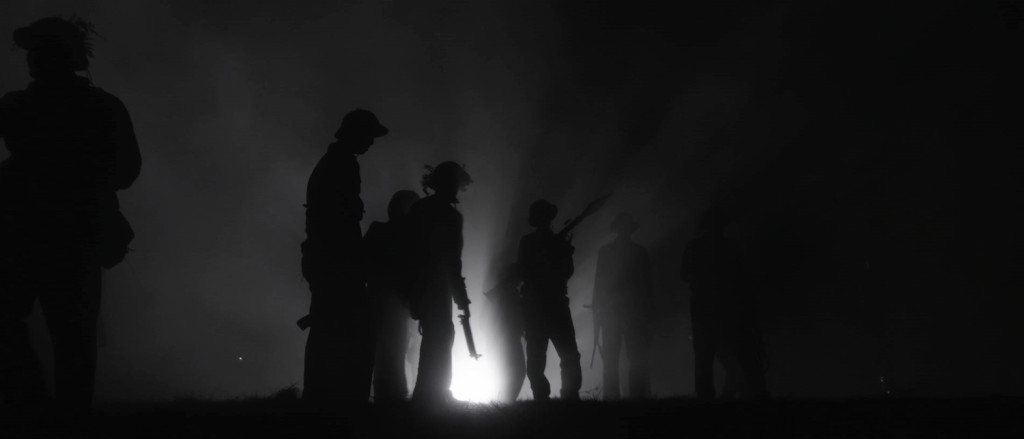
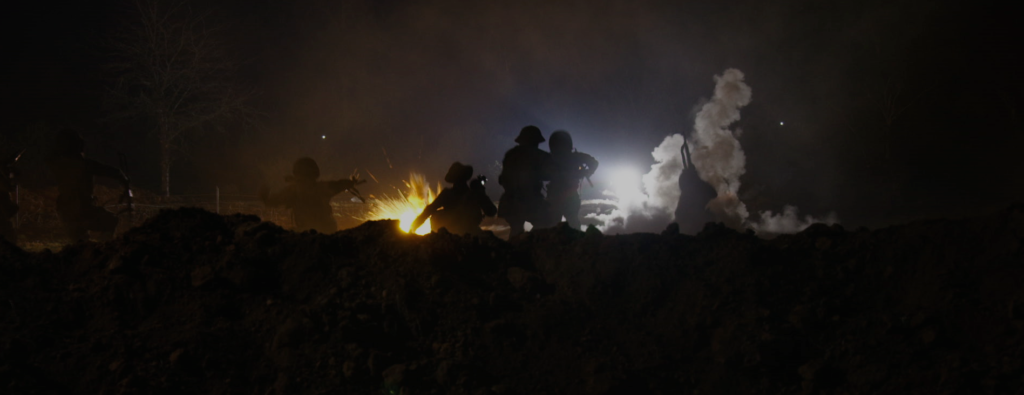
 silhouette_soldiers Screen shot 2014-06-14 at 12.03.00 AM

“The Crater” was screened in Australia on April 25th as part of the Anzac Day, Gallipoli Centenary Celebrations.
balmoral_attack2

FILL-LITE – The best soft lights available

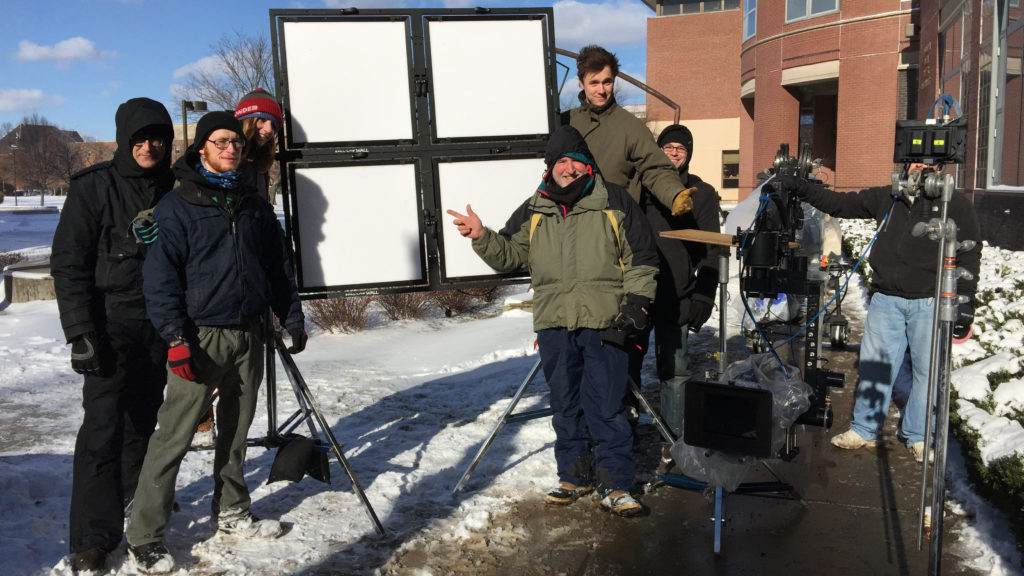
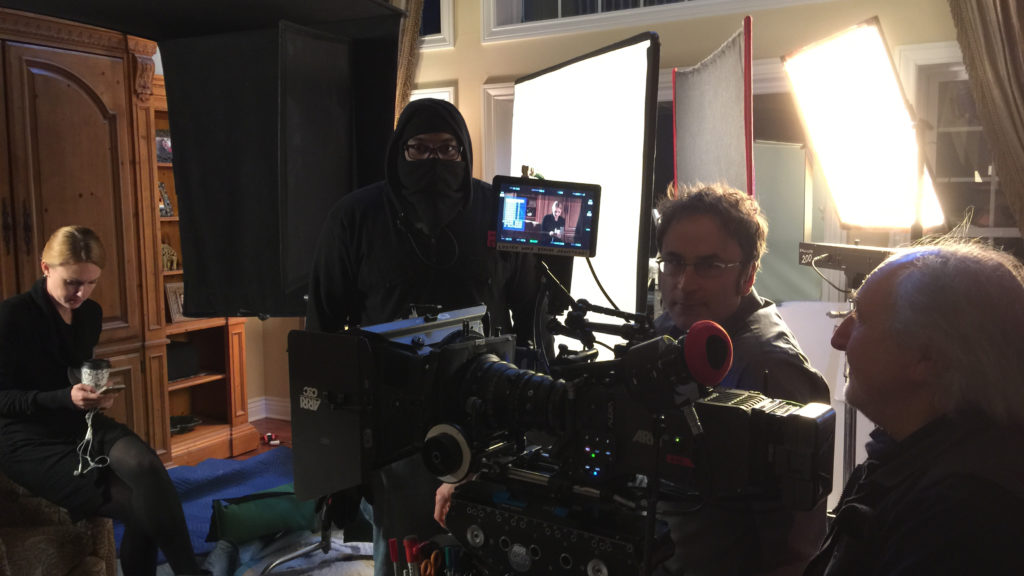
I used the Fill-Lite’s for the first time on the feature “Irrefutable Proof”, which shot in Syracuse NY, essentially lighting the entire movie with them. This Indie film was shot on a very tight budget with huge locations and required an innovative approach to the lighting to keep costs down and maintain a very strong visual style. Fill-Lite make an exceptional unit and this was my first chance to put them through their paces.

Having demo’d the units earlier in the year at a seminar I gave for Band Pro, I knew their potential but did not appreciate the usefulness and versatility of these small units until I had them on set.

“The Lady Pleaser”
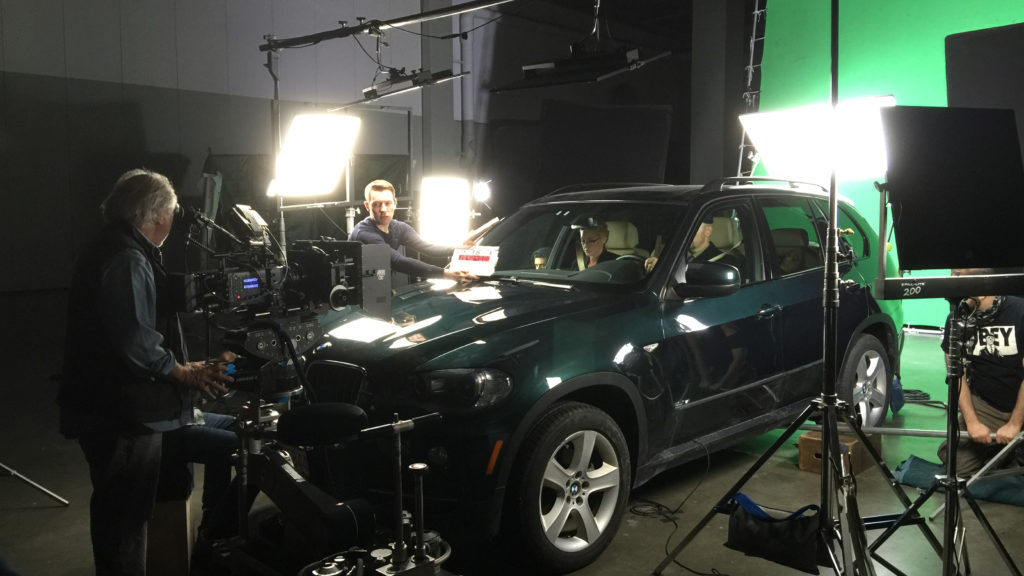
The quality of the light is astounding, dubbed by my crew “the lady pleaser”, great wrap and essentially the quality of a soft light thru 216 (without the 216). The fall off is relatively short which meant less cutting and shaping in tight locations and being a square emitter they could easily be panned or tilted to control spill and intensity in different parts of the set.

IMG_1065

I used them as singles, doubles and quads, to light masters and close-ups, green screen car scenes, men and women. For women, when punched thru diffusion, the light almost becomes a liquid. I also used them skirted as coup lights for large areas where they provided the perfect amount of base shooting on the Alexa at 800ISO, as fill on overcast day exteriors and in ultra low temps (-9 degrees and color temp and output did not change). In every situation these incredible units excelled. I will not be shooting again without them.

IMG_1317

IMG_1297IMG_1695

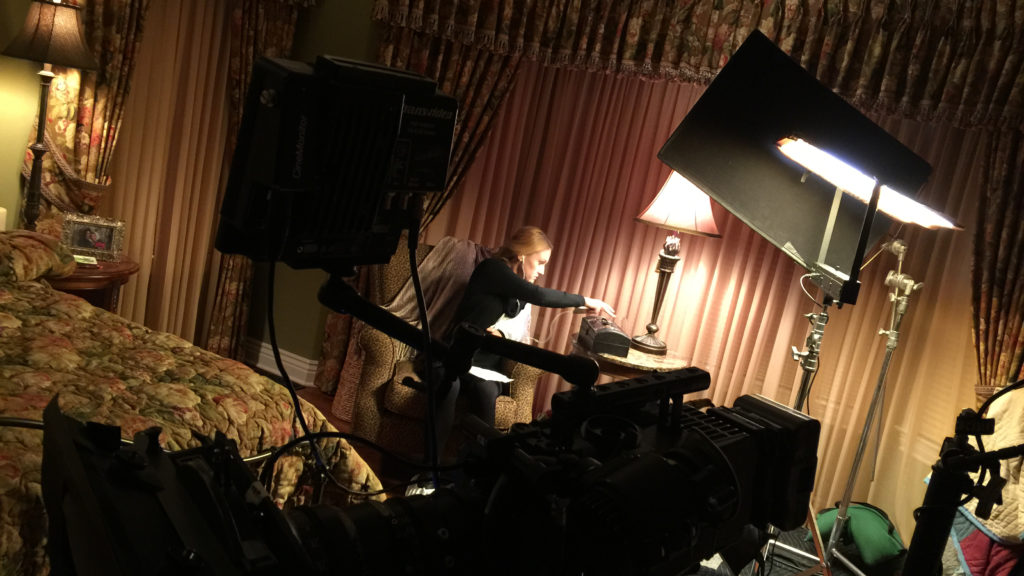
Their small compact size and amazing light quality make them ideal for shooting in very tight locations

Their small compact size and amazing light quality make them ideal for shooting in very tight locations as, at a little less than 1″ thick, they take up such a small amount of space. They are also supplied with brackets allowing them to be directly attached to set walls giving them an even smaller footprint. Compared to Kino Flo’s or Chimera’s, well there simply is no comparison, these little units outperform in every area.

IMG_1640

No Heat-No Generator-Less Cost

Of course one of the big advantages of LED lighting in general is that they do not produce heat. Therefor almost all the electrical energy passing into the LED produces light so they are much more efficient. This allowed using the lower wattage lights off normal household circuits, so I was able to structure the lighting for the film around a lighting package that did not force us to carry a generator, other than a 6500W as a backup source or for remote locations. Any night exteriors were shot dusk for night.
Actors also loved the “no heat” aspect of the Fill-Lite’s .

Check them out at www.fill-lite.com

IMG_1316